How to Create Dreamy Bokeh in Your Portrait Shots
Learn how to create soft, dreamy bokeh with simple camera and lens tips
I still remember the moment I truly understood bokeh. I wasn’t just blurring backgrounds anymore—I was shaping emotion. Suddenly, my portraits felt softer, more intimate, and far more professional.
In this guide, I’ll show you how to create soft, dreamy bokeh with simple camera and lens tips, using techniques I personally rely on as a photography enthusiast and educator. No fluff, no guesswork—just practical advice you can use immediately.
What Is Bokeh and Why It Matters in Portrait Photography
Bokeh refers to the quality of the out-of-focus areas in an image—not just how blurry they are, but how pleasing that blur looks. In portrait photography, good bokeh helps isolate your subject and eliminate distractions.
The Difference Between Blur and Bokeh
Blur is technical. Bokeh is artistic.
Any camera can blur a background, but not every lens creates beautiful bokeh. Think of blur as silence and bokeh as soft background music—it sets the mood without overpowering the subject.
Why Dreamy Bokeh Feels So Emotional
Dreamy bokeh guides the viewer’s eye directly to the subject. It creates separation, depth, and a cinematic feel that instantly elevates a portrait.

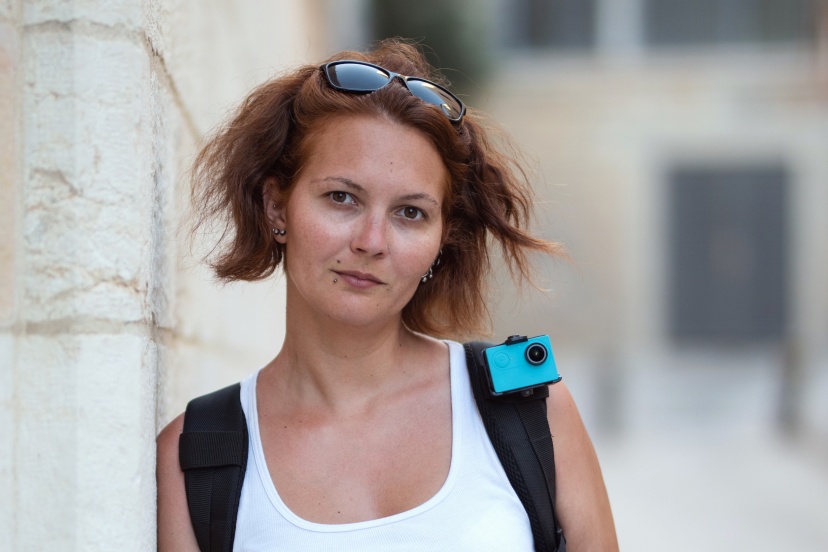
Photo by Karine Germain on Unsplash
Choosing the Right Lens for Soft, Dreamy Bokeh
Your lens plays the biggest role in how your bokeh looks. While camera bodies matter, lenses shape the character of background blur.
Prime Lenses vs Zoom Lenses
I strongly recommend prime lenses for portraits. A 50mm f/1.8 or 85mm f/1.8 is affordable and produces beautifully smooth bokeh. Zoom lenses can work, but primes make dreamy backgrounds much easier to achieve.
Best Focal Lengths for Creamy Backgrounds
Longer focal lengths compress the scene and enhance background blur. My go-to portrait focal lengths are:
-
50mm (natural look)
-
85mm (classic portrait compression)
-
135mm (maximum background separation)
>>> Find the right prime lens CLICK HERE <<<
Camera Settings That Create Beautiful Bokeh
Once you understand how settings work together, bokeh becomes intentional—not accidental.
Aperture: Your Bokeh Power Tool
Aperture is everything. I shoot as wide as possible—f/1.8, f/1.4, or f/2—to achieve shallow depth of field. The wider the aperture, the softer the background.
Shutter Speed and ISO for Balanced Exposure
Wide apertures let in a lot of light. I compensate by increasing shutter speed. In low light, I raise ISO slightly rather than closing the aperture and losing bokeh.
Distance Matters More Than You Think
This is one of the most powerful—and free—bokeh techniques.
Subject-to-Background Distance Explained
The farther your subject is from the background, the blurrier that background becomes. I always pull my subject several feet away from walls, trees, or buildings.
Photographer-to-Subject Distance Tips
Step back slightly and zoom in. This compresses the background and intensifies the bokeh effect.

Finding the Perfect Background for Dreamy Bokeh
Not all backgrounds blur nicely. Some create chaos instead of creaminess.
Lights, Leaves, and Textures
Small light sources—string lights, sunlight through leaves, reflections—turn into gorgeous bokeh circles. Texture matters more than color.
Using Natural Light for Magical Results
Backlighting is my secret weapon. Shooting into soft sunlight instantly adds glow and enhances dreamy bokeh.
Shooting Techniques I Personally Use
Good technique turns good settings into great portraits.
Focus Techniques for Sharp Subjects
When shooting wide open, focus accuracy is critical. I always focus on the nearest eye using single-point autofocus.
Shooting Wide Open Without Mistakes
I shoot in short bursts. Tiny movements can throw off focus, and burst mode dramatically increases keeper shots.
Enhancing Bokeh in Post-Processing
Editing should enhance bokeh—not fake it.
Lightroom and Photoshop Tips
I gently reduce clarity in the background using masks and avoid heavy blur filters. Overdoing it instantly looks artificial.

Common Bokeh Mistakes to Avoid
-
Shooting too close to the background
-
Using busy or high-contrast backgrounds
-
Stopping down too much
-
Relying entirely on Photoshop
Dreamy bokeh always starts in-camera.
Final Thoughts on Creating Dreamy Portrait Bokeh
Once you learn how to create soft, dreamy bokeh with simple camera and lens tips, your portraits will instantly stand out. Master aperture, control distance, choose smart backgrounds, and practice intentionally.
That dreamy look you admire in professional portraits? You can create it—starting today.
>>> Find the right prime lens CLICK HERE <<<
Frequently Asked Questions
Can I create dreamy bokeh with a kit lens?
Yes. Use the longest focal length, widest aperture, and maximize subject-background distance.
Is f/1.8 always best for bokeh?
Not always. f/2 or f/2.2 can offer sharper results with nearly the same background blur.
Does sensor size affect bokeh?
Yes. Full-frame cameras produce shallower depth of field than crop sensors at the same settings.
Can smartphones create real bokeh?
They simulate it well, but optical bokeh from real lenses still looks more natural.
Should I add bokeh in Photoshop?
Only subtly. Natural bokeh always looks better than heavy digital blur.
Further photo tips here:
Understanding Natural Light in Photography (and How to Master It)


