Flash Photography
When I first started photography, the idea of using flash scared me a little. I imagined washed-out faces, red eyes, and photos that looked… well, fake. But once I took the time to really understand flash photography, it completely transformed my work. If you’re feeling unsure about using flash, I promise—this guide will light the way.
What is Flash Photography?
Flash photography is simply using a burst of artificial light—typically from a flash unit—to illuminate your subject. Sounds simple, right? But the beauty is in how you use it. Flash isn’t just for dark scenes—it’s a powerful creative tool.
Why Use Flash in Photography?
You might think, “Why not just bump up the ISO or open the aperture?” Good question. But flash can do a few things that natural light or camera settings alone can’t.
Adding Light to a Dark Scene
Sometimes there just isn’t enough ambient light. Whether you’re indoors or shooting at night, a flash gives you that necessary burst of brightness.
Freezing Motion
Flash has the power to freeze action with razor-sharp clarity. That’s why it’s popular in dance, sports, and wildlife photography where split-second timing matters.
Creative Lighting Effects
Want dramatic shadows or crisp silhouettes? Flash lets you control light direction, intensity, and style far more than ambient lighting.
Types of Camera Flashes
Not all flashes are created equal. Let’s break down your options.
Built-in Flash
This is the pop-up flash on most beginner cameras. It’s convenient but very limited—direct, harsh, and not very flattering. Use it sparingly.
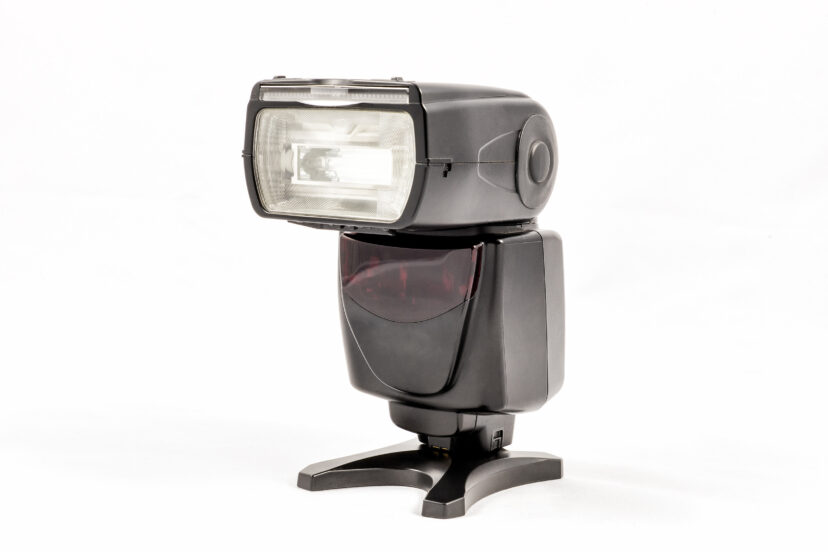
External Flash (Speedlite/Speedlight)
These mount to your camera’s hot shoe or work off-camera. They offer adjustable angles, variable power, and more advanced features like TTL (Through-The-Lens) metering.
Studio Strobes
These are powerful, plug-in lights used in professional studios. They’re overkill for beginners but essential for high-end commercial work.
Flash Photography Essentials
Understanding how flash works technically helps you control it better.
Understanding Flash Power
Flash power is measured in fractions—like 1/1 (full power), 1/2, 1/4, etc. Lower power gives faster recycle times and less intense light, which is often more flattering.
Flash Sync Speed
Every camera has a sync speed—the fastest shutter speed that works with flash without causing weird black bars in your photos. Usually around 1/200 or 1/250 sec.
TTL vs Manual Flash
TTL uses your camera’s metering to automatically adjust flash power. Manual gives you full control. I recommend starting with TTL and learning manual as you grow.
Best Situations to Use Flash
Let’s talk practical use cases—these are where flash really shines.
Indoor Portraits
Inside, light can be uneven or dim. A bounced flash off the ceiling or wall creates soft, natural light without the “deer in headlights” effect.
Night Photography
Flash lets you capture both your subject and the background when it’s dark. Combine it with long exposures for some cool creative effects.
Fill Flash Outdoors
Even in bright sunlight, flash can help fill in shadows on your subject’s face—especially under harsh noon sun or in backlit scenes.
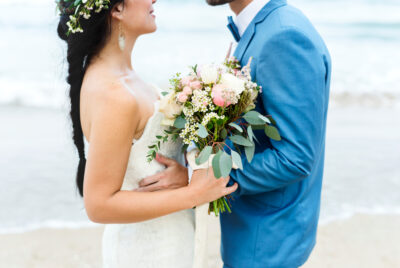
Events and Weddings
Low-light venues, fast-paced moments, and emotional candids—flash is essential in event photography. Use bounce techniques to keep things flattering.
>> See full range and prices of flash units HERE <<
Common Flash Photography Mistakes
Yep, we’ve all made these at some point.
Harsh Shadows
Direct flash can create ugly shadows behind your subject. Soften it using bounce or modifiers (we’ll get to that soon).
Red-Eye Effect
This happens when light reflects off the retina. You can avoid it by using an off-camera flash or redirecting the light.
Overexposure
Too much flash washes out your subject. Use lower power or dial in exposure compensation to balance things out.
How to Soften Your Flash
Nobody likes a photo where the subject looks like they were hit by a lightning bolt.
Use a Diffuser
Snap-on diffusers (like the Gary Fong dome) spread the light, making it more even and less harsh.
Bounce the Flash
Aim your flash at a nearby white wall or ceiling to reflect light indirectly. The result? Softer shadows and a more natural look.
Modify with Softboxes or Umbrellas
These are bigger tools typically used off-camera, but they deliver beautiful, soft light that’s ideal for portraits and products.
Creative Flash Photography Techniques
Once you’ve nailed the basics, here’s where things get really fun.
Rear Curtain Sync
This makes the flash fire at the end of a long exposure. It gives motion blur a sense of direction—great for action shots.
Off-Camera Flash
Using flash off to the side (or even behind!) creates depth and drama. You’ll need a trigger and receiver system to do this wirelessly.
Using Color Gels
Want a pop of color? Slide a gel over your flash. You can match ambient light (like tungsten or daylight) or go wild with creative hues.
Flash Photography Gear Recommendations
Let’s talk gear that won’t break the bank but will still elevate your game.
Best Flashes for Beginners
-
Godox TT685 II – Affordable, TTL, high-speed sync, and built-in wireless.
-
Yongnuo YN560 IV – Manual only, but super budget-friendly and reliable.
Affordable Light Modifiers
-
Rogue FlashBender – Folds flat in your bag, great for on-the-go diffusion.
-
Neewer Softbox Kit – Ideal for at-home portraits.
Trigger Systems for Off-Camera Flash
-
Godox XPro – Works seamlessly with Godox flashes.
-
PocketWizard – Industry standard for reliability, though pricier.
>> See full range and prices of flash units HERE <<
Tips for Getting Great Flash Photos
-
Practice bouncing light off walls or ceilings.
-
Start with TTL, then experiment with manual.
-
Always check your histogram—don’t trust the preview alone.
-
Mix flash with ambient for balanced exposure.
-
Experiment. Don’t be afraid to play and fail—it’s how we learn.
Conclusion: Embrace the Flash
Flash isn’t something to fear—it’s something to master. Once you get comfortable with it, your creative potential explodes. From dreamy portraits to dramatic night scenes, flash photography opens up new ways to tell your visual stories. So go ahead, fire up that flash and see where it takes you!
FAQs
1. Can I use flash during the day?
Absolutely! Fill flash helps brighten faces in harsh sunlight or when your subject is backlit.
2. Is a built-in flash enough for good flash photography?
It works in a pinch, but external flashes offer way more control and better results.
3. What’s the best flash for portraits?
A soft, off-camera flash bounced or modified through a softbox is ideal for portraits.
4. Can I use flash with a smartphone?
Yes, with accessories like clip-on LED lights or mobile flash triggers, you can get creative with your phone too.
5. Does flash ruin ambient light?
Not if used correctly. You can balance flash with ambient by adjusting shutter speed, aperture, and ISO.
Further reading
Check out our other relevant articles:
Art of Portrait Photography: Master Techniques for Stunning Shots
Here are two educational resources that provide comprehensive guidance on flash photography, complementing the information presented in the article:
-
“Beginner’s Guide to Flash Photography – Tips, Tricks and Lessons” by SLR Lounge
This guide offers foundational knowledge on flash photography, covering topics such as TTL vs. manual flash, light patterns, balancing flash with ambient light, and the use of flash modifiers. It’s an excellent starting point for beginners aiming to understand and control lighting in their photography. -
“Flash Photography Tutorial: Complete Guide for Beginners” by iPhotography
This tutorial delves into practical aspects of flash photography, including the use of front and rear curtain sync, bouncing flash, and selecting appropriate camera modes. It provides actionable tips to help beginners avoid common pitfalls and enhance their flash photography skills.
These resources align well with the article’s content, offering additional insights and practical advice to further your understanding of flash photography
.