Best Night Photography Settings for Cityscapes
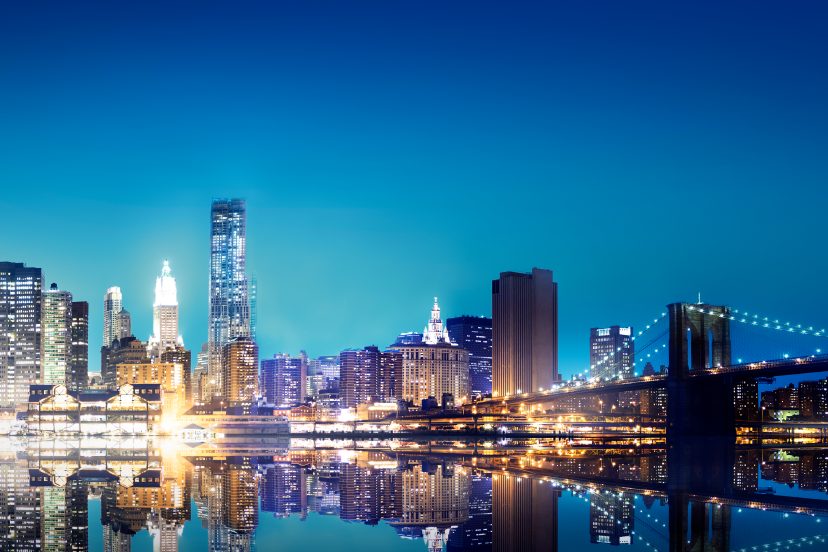
City nights have a magic of their own—bright neon lights, glowing skyscrapers, and reflections bouncing off wet streets. But capturing that magic isn’t as easy as pointing your camera and clicking. Today, I’ll share the best night photography camera settings for cityscapes so you can transform your night shots into stunning works of art.
Why Night Cityscape Photography is Unique
Shooting at night is a different ball game compared to daytime photography. You’re working with limited light sources, mixed lighting colors, and lots of contrasts.
The Magic of Artificial Light
Streetlights, neon signs, and car headlights bring your cityscapes to life. They add personality and drama that natural daylight just can’t provide.
Balancing Shadows and Highlights
The trick is to expose for the highlights while still pulling details from the shadows. Too much exposure and you’ll blow out the lights; too little and your buildings disappear into the dark.
Essential Gear for Night Cityscape Photography
Gear doesn’t make you a great photographer, but for night shots, it can make or break your results.
Tripod
A sturdy tripod is non-negotiable. Long exposures demand absolute stability, and even the steadiest hands can’t hold a camera still for 10 seconds.
Wide-Angle Lens
A wide-angle lens lets you capture more of the city skyline, especially when you’re shooting from rooftops or bridges.
Remote Shutter Release
Using a remote prevents camera shake. If you don’t have one, use your camera’s 2-second timer as a simple hack.
Extra Batteries
Cold nights and long exposures drain batteries faster than you’d think. Always carry spares.
Best Night Photography Camera Settings for Cityscapes
Now, let’s break down the exact settings to use. Remember, these are starting points—you’ll adjust based on conditions.
Step 1: Set Your Camera to Manual Mode
Auto mode struggles at night. Manual mode gives you full control over exposure, ISO, and focus.
Step 2: Choose the Right Aperture
Start with f/8 to f/11 for sharpness and depth of field. This ensures both the foreground and skyline remain in focus.
Step 3: Adjust the Shutter Speed
For static shots, start with 10–20 seconds. For light trails, experiment with 20–30 seconds. Shorter shutter speeds work if you want to freeze movement.
Step 4: Master ISO Settings
Keep ISO between 100–400 to reduce noise. If the scene is too dark, lengthen the shutter speed instead of cranking up ISO.
Step 5: Focus Manually
Autofocus struggles at night. Switch to manual focus and zoom in on a bright area (like a streetlight) to nail sharpness.
Step 6: White Balance Settings
Set white balance to “Tungsten” for cooler tones or experiment with custom Kelvin settings for creative results.
>>> Deals on lightweight tripods HERE <<<
Advanced Techniques for Stunning Cityscapes
Once you’ve nailed the basics, try these techniques to elevate your shots.
Long Exposure Light Trails
Capture car headlights and taillights streaming across your frame. It adds motion and energy to otherwise static images.
Using HDR for Balanced Shots
Blend multiple exposures to keep detail in both shadows and highlights. It’s especially useful when the skyline is brightly lit.
Experimenting with Reflections
Wet streets, rivers, and windows can double your composition. Always look for reflective surfaces in the city.
Common Mistakes to Avoid
Night photography has traps beginners often fall into—let’s dodge them.
Shooting Handheld Without Support
Even at fast shutter speeds, handheld night shots are risky. Always use a tripod.
Overexposing Streetlights
Don’t let bright lights dominate your exposure. Meter for them, then adjust shadows in post.
Ignoring Composition
Rule of thirds, leading lines, and symmetry still matter at night. Don’t just chase lights—compose thoughtfully.
Post-Processing Tips for Night Cityscapes
Editing is where your shots go from good to jaw-dropping.
Reducing Noise
Use noise reduction tools in Lightroom or Photoshop. But don’t overdo it—too much softens details.
Enhancing Colors and Contrast
Boost vibrance to make neon lights pop, and adjust contrast to emphasize depth.
Sharpening for Clarity
Apply sharpening selectively to buildings and edges for crisp results.
Conclusion
Night cityscapes are challenging but incredibly rewarding. With the right gear, settings, and techniques, you can capture the urban glow in all its beauty. Don’t be afraid to experiment—sometimes the “wrong” setting gives you the most creative shot.
>>> Deals on lightweight tripods HERE <<<
FAQs
Q1: What’s the ideal shutter speed for city lights?
Start with 10–20 seconds, then adjust depending on the light.
Q2: Should I always use a tripod?
Yes, unless you’re intentionally going for motion blur.
Q3: How do I reduce noise at high ISO?
Use lower ISO and rely on longer shutter speeds or post-processing noise reduction.
Q4: Can I shoot night cityscapes with a kit lens?
Absolutely—use what you have, then upgrade when you’re ready.
Q5: What’s the best time to shoot?
Blue hour, just after sunset, offers a mix of natural and artificial light for stunning results.
More photo tips here:


