Best Camera Settings for Outdoor Portraits in Natural Light
Discover ideal camera settings for bright, natural-light portraits.
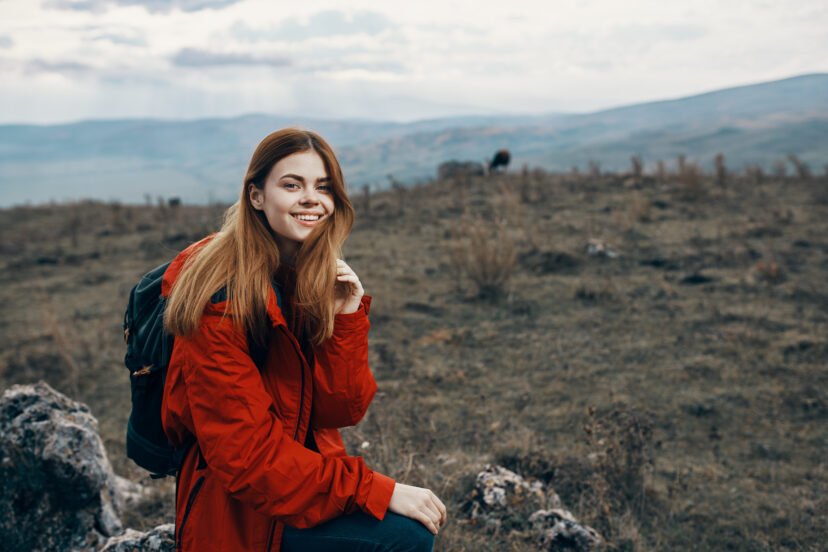
Outdoor portraits thrive on beautiful, organic light—but only if you use the right camera settings. As a portrait enthusiast and educator, I’ve spent years refining natural-light techniques that create soft skin tones, flattering shadows, and dreamy backgrounds. In this guide, I’ll walk you through my trusted methods step-by-step.
Why Natural Light Is Perfect for Outdoor Portraits
Natural light gives portraits a warm, emotional character that artificial lighting rarely replicates.
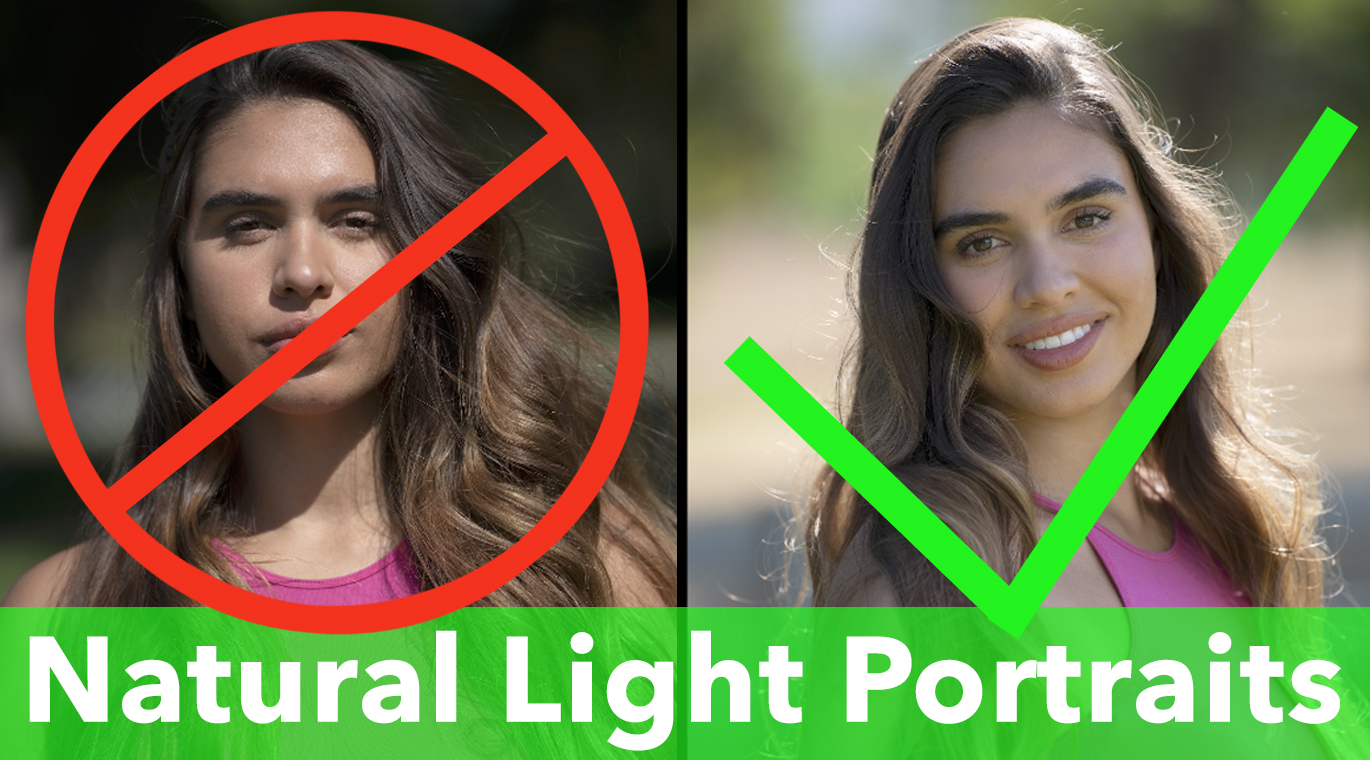
Understanding Light Quality and Direction
Light behaves differently depending on direction and intensity. Front light creates even illumination, side light adds dimension, and backlight adds an ethereal glow. Understanding these qualities helps determine the settings you choose.
Essential Camera Settings for Natural-Light Portraits
Let’s break down the core settings that shape every outdoor portrait.
Aperture: Creating Beautiful Background Blur
A wide aperture (a low f-stop number) is one of the easiest ways to make your subject pop.
Recommended Aperture Settings
-
f/1.8–f/2.8 for maximum background blur
-
f/3.5–f/4 for couples or groups
-
f/4–f/5.6 when including scenery
A wide aperture transforms busy environments into soft, dreamy backgrounds that enhance your subject.

Shutter Speed: Keeping Your Subject Sharp
Even slight movement—wind, shifting posture, blinking—can soften portraits.
Ideal Shutter Speed Ranges
-
1/200–1/400 sec for stationary poses
-
1/500–1/1000 sec for kids, pets, or windy conditions
Faster shutter speeds ensure crisp, reliable results.
ISO: Balancing Brightness Without Noise
ISO affects brightness but also introduces grain if set too high.
Best ISO Settings Outdoors
-
ISO 100–200 for bright daylight
-
ISO 200–400 for shade or overcast light
-
ISO 400–800 for golden hour
Staying as low as possible gives cleaner, smoother skin tones.
White Balance: Getting Natural, True-to-Life Skin Tones
Color temperature shifts outdoors can make skin appear orange or blue.
Custom White Balance Tips
-
Use Daylight WB in sunny conditions
-
Use Shade or Cloudy WB to warm up cool environments
-
For precise skin tones, try a gray card

Focus Modes for Crisp Portraits
Your focus needs to lock onto the eyes, not the background.
Single vs. Continuous AF
-
AF-S / One-Shot: Best for posed portraits
-
AF-C / AI-Servo: Best for moving subjects
-
Eye-detection AF (on mirrorless cameras) is a game changer for portraits.
Metering Modes for Proper Exposure
Evaluative or Matrix metering handles natural light very well, but for backlit portraits, Spot metering on the face often works best.
How Natural-Light Conditions Affect Your Camera Settings
Lighting changes everything—from exposure to mood.
Shooting in Harsh Midday Sun
Harsh sun creates deep shadows and blown highlights.
Settings I use:
-
Aperture: f/2.8–f/4
-
ISO: 100
-
Shutter: 1/500–1/2000 sec
Tip: Turn the subject away from the sun for softer light.

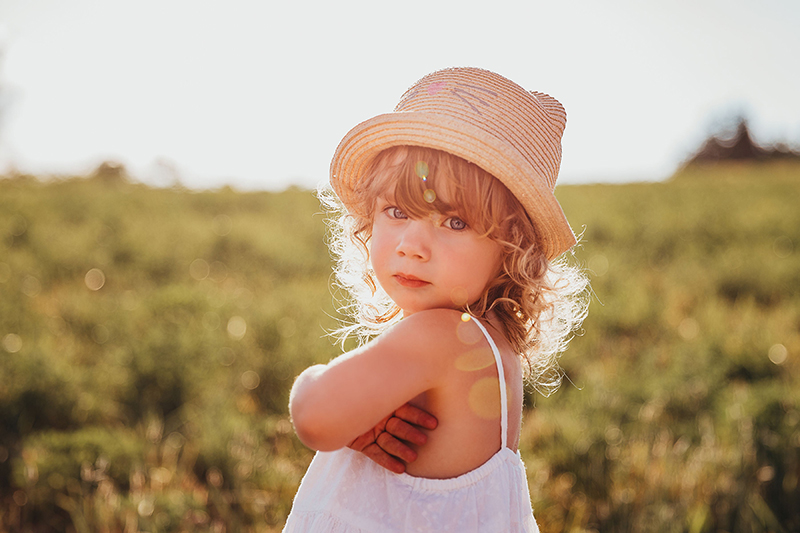
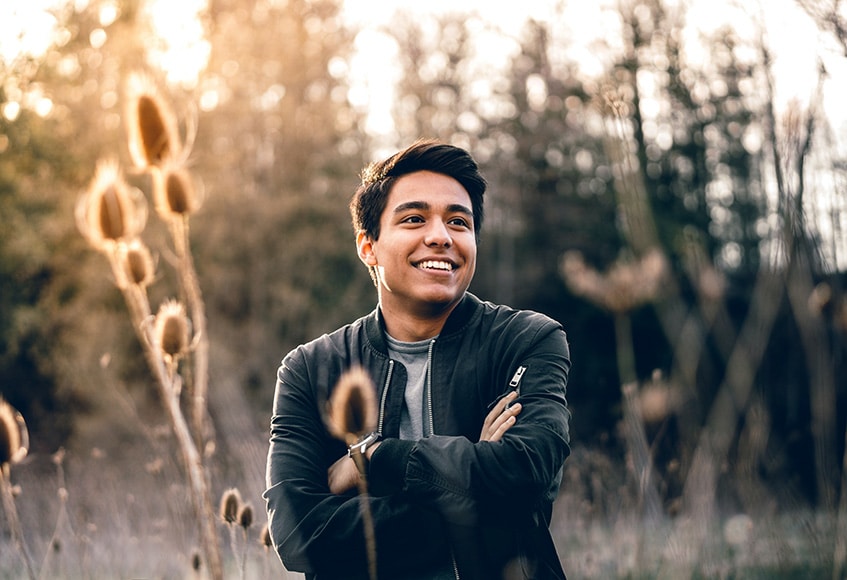
Golden Hour Portrait Settings
Soft, directional, warm light—the dream scenario.
Settings I use:
-
Aperture: f/1.8–f/2.8
-
ISO: 100–400
-
Shutter: 1/200–1/500 sec
Overcast Light Settings
Clouds act like a giant softbox, giving gentle and flattering skin tones.
Settings I use:
-
Aperture: f/2.8–f/4
-
ISO: 200–400
-
Shutter: 1/200 sec or faster
Overcast is one of the easiest lighting conditions for beginners.
Additional Techniques for Stunning Outdoor Portraits
Beyond settings, technique elevates your images further.
Using Reflectors to Shape Light
Reflectors brighten shadows and add catchlights to the eyes.

I often use a silver reflector to add punch or white for a softer lift.
Positioning Your Subject for the Best Results
Lighting direction can make or break portraits.
Turn your subject so the light falls naturally across their face—this adds depth and flatters facial structure.
Choosing the Right Lens for Portraits
My favorite lenses for outdoor portraits include:
-
85mm f/1.8 or f/1.4 – creamy bokeh, flattering compression
-
50mm f/1.8 – versatile and budget-friendly
-
70–200mm f/2.8 – incredible separation and background blur
Step-by-Step Workflow for Shooting Natural-Light Portraits
My Personal Setup Process
-
Choose the background first
-
Position the subject relative to the light
-
Set aperture (usually f/1.8–2.8)
-
Dial in shutter speed
-
Adjust ISO for correct exposure
-
Focus on the eyes
-
Review the histogram
-
Make minor adjustments
This routine helps me work quickly and confidently on location.
Conclusion
Shooting outdoor portraits in natural light is deeply rewarding once you understand how to control your camera settings and harness the available light. By mastering aperture, shutter speed, ISO, and white balance—and learning how light behaves—you’ll consistently create bright, flattering, professional-looking portraits.
The keyword to remember is this: Discover ideal camera settings for bright, natural-light portraits, and use these foundational methods as your guide.
FAQs
1. What is the best aperture for outdoor portraits?
f/1.8 to f/2.8 for strong background blur, f/4+ for groups.
2. How do I avoid harsh shadows in bright sun?
Turn your subject away from the sun or move into open shade.
3. Should I use auto white balance outdoors?
You can, but custom or preset WB often gives more consistent skin tones.
4. What lens gives the best blurry background?
An 85mm or 50mm prime with a wide aperture creates beautiful bokeh.
5. How do I keep portraits sharp?
Use fast shutter speeds, continuous autofocus for movement, and eye-detection AF when possible.
Further photo tips here:
https://phototipsgalore.com/shooting-the-golden-hour-vs-blue-hour-whats-the-difference/ https://phototipsgalore.com/how-to-shoot-stunning-black-and-white-portraits/ https://phototipsgalore.com/long-exposure-photography-create-stunning-light-trails-and-smooth-water/ https://phototipsgalore.com/how-to-expose-for-highlights-and-shadows-in-tricky-lighting/ https://phototipsgalore.com/portrait-photography/


