A Guide to Using Filters in Landscape Photography

A Guide to Using Filters in Landscape Photography
When I first started exploring landscapes, I thought filters were just an accessory. But once I learned how to use them, I realized they can completely transform a photo. In this guide, I’ll share the best filters for landscape photography explained in simple terms—so you know what they do, when to use them, and how to get stunning results.
Why Filters Matter in Landscape Photography
The Role of Filters in Enhancing Natural Beauty
Filters are like sunglasses for your camera. They cut glare, enhance contrast, and help balance tricky lighting situations. Without them, certain shots—like silky waterfalls or rich blue skies—are almost impossible to capture naturally.
How Filters Compare to Post-Processing
Sure, you can tweak photos in Lightroom or Photoshop. But filters let you capture effects in-camera that editing software can’t always replicate. Think of them as tools that save editing time while keeping images authentic.
Types of Filters for Landscape Photography
Polarizing Filters
Cutting Reflections and Enhancing Colors
A polarizer reduces reflections on water, glass, or wet rocks. It also deepens blue skies and makes clouds pop. If you’ve ever admired a crisp mountain lake photo, chances are a polarizer helped.
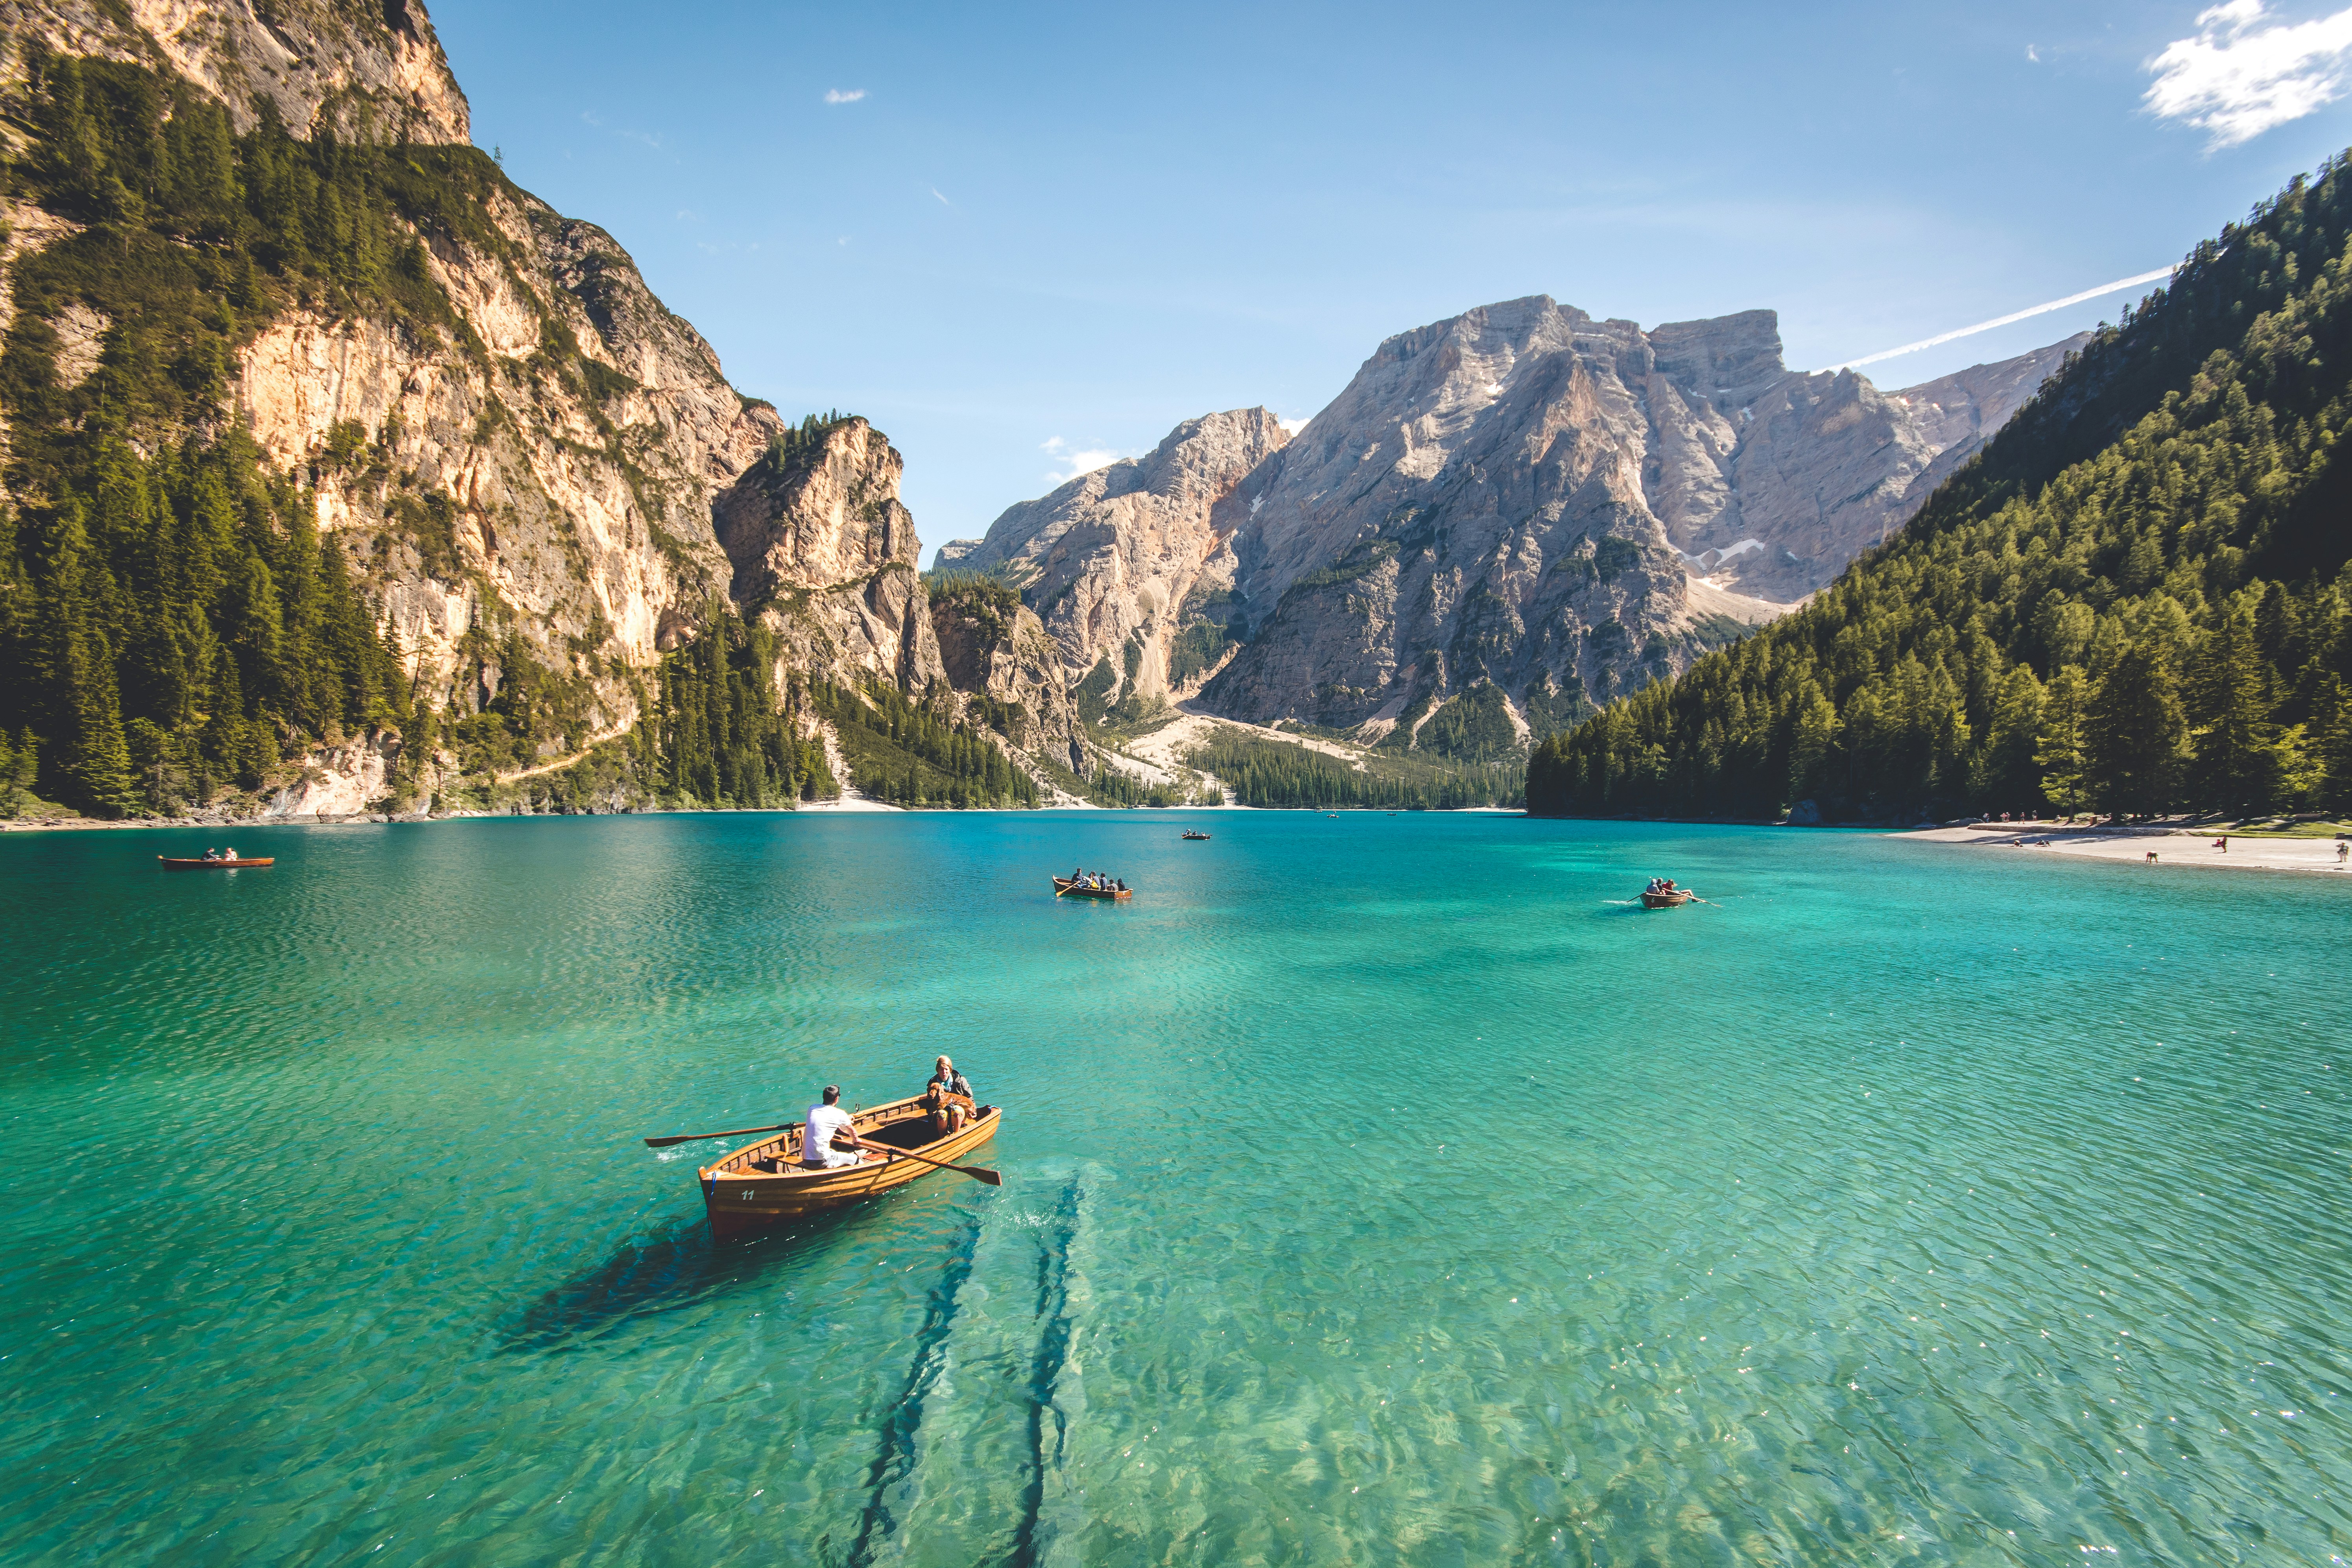
When to Use a Polarizer Outdoors
Use it on bright sunny days when reflections are distracting. Just be careful—over-polarizing can make skies look unnaturally dark.
Neutral Density (ND) Filters
Creating Long Exposures with ND Filters
ND filters act like tinted sunglasses, reducing light so you can use slow shutter speeds even in daylight. This is how photographers capture dreamy waterfalls or smooth ocean waves.
Shooting Waterfalls, Rivers, and Clouds
Want moving clouds that streak across the sky? Or a river that looks silky? ND filters are the secret. They let you blur motion without blowing out highlights.
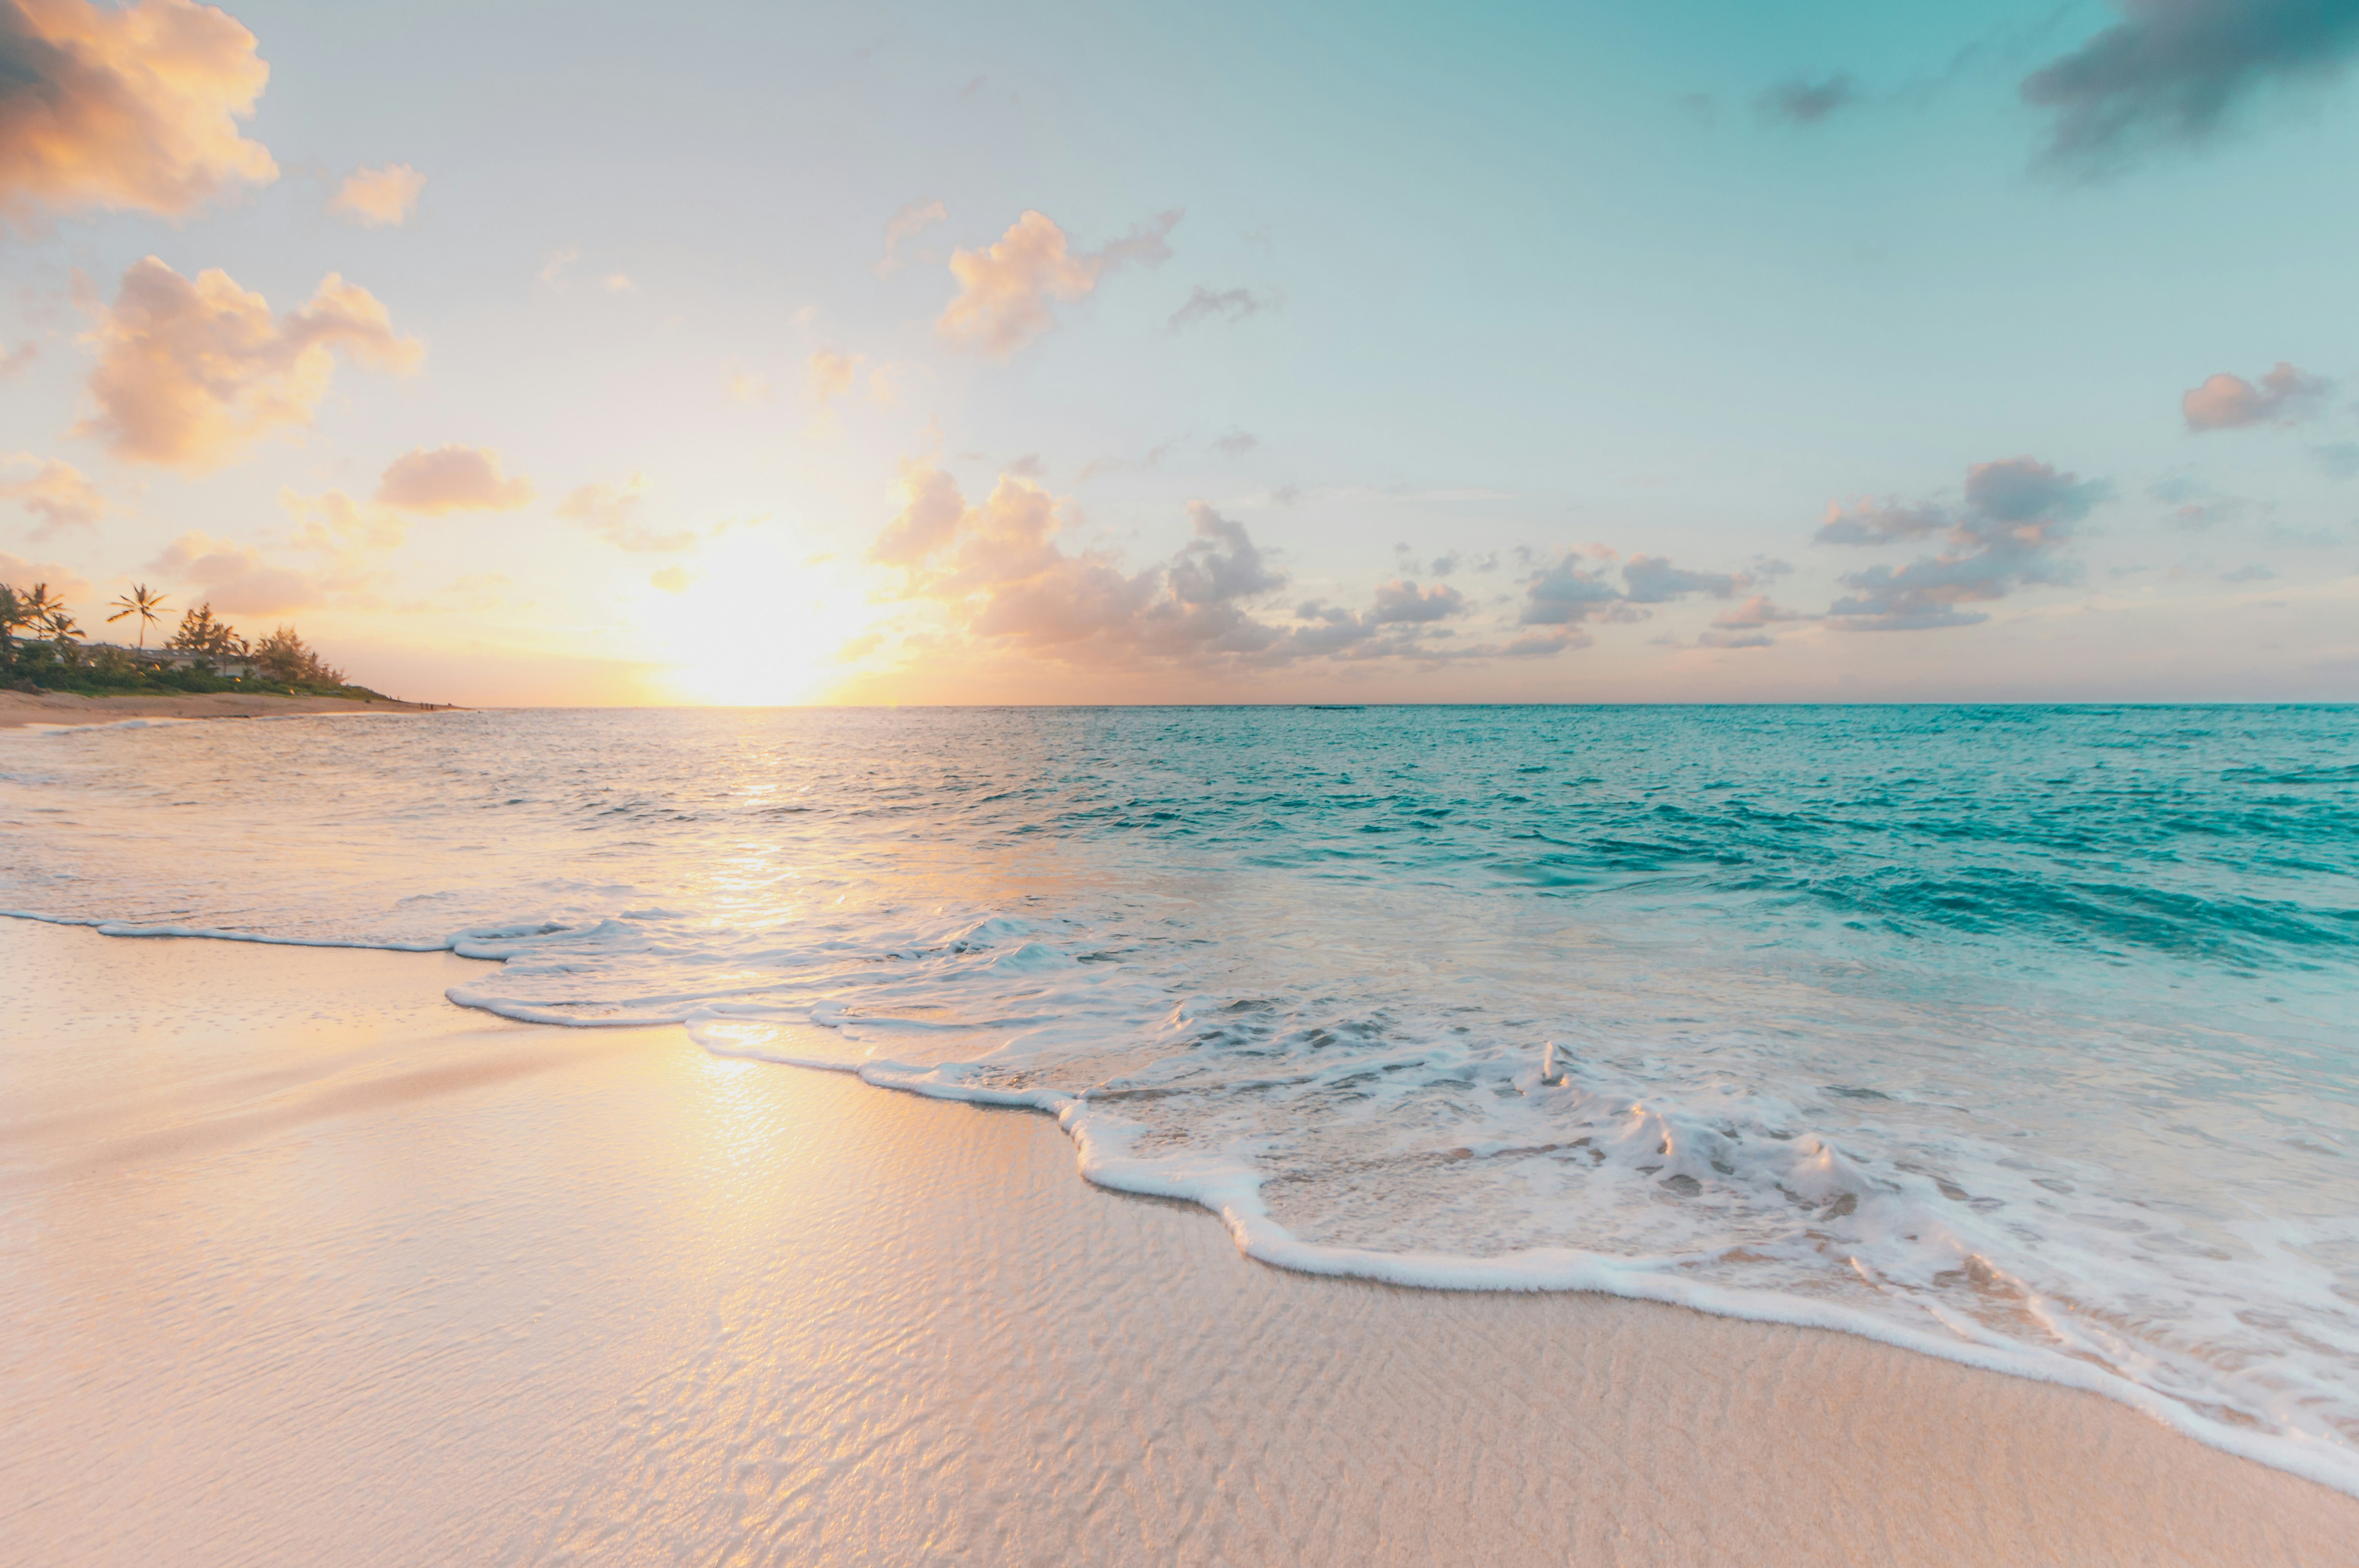
Graduated ND Filters
Balancing Bright Skies and Dark Foregrounds
These filters are darker on top and clear at the bottom. Perfect for sunrise or sunset when the sky is glowing but the ground is shadowed. They balance exposure naturally.
Sunset and Sunrise Applications
If you’ve ever had a blown-out sky or an underexposed foreground, a graduated ND solves that problem beautifully. They’re my go-to filter for golden hour.
UV and Skylight Filters
Lens Protection Benefits
UV filters used to protect film from haze, but today they’re mostly used as cheap lens protectors. I always keep one on in dusty or sandy locations.
Why They’re Less Common Today
Modern digital cameras handle UV light well, so these filters don’t change image quality much. Many photographers skip them unless for protection.
Special Effect Filters
Infrared and Creative Options
Infrared filters let you capture surreal landscapes where foliage glows white. They’re niche, but fun if you like experimental photography.
Starburst and Soft Focus Effects
Star filters create sparkles around light sources, while soft focus filters give dreamy, romantic looks. I don’t use them often, but they can add mood in the right setting.
Choosing the Right Filter for Your Needs
Matching Filters to Shooting Conditions
Shooting near water? Go with a polarizer. Want silky waterfalls? Grab an ND filter. Chasing sunsets? Use a graduated ND. Matching filters to your subject is key.
Budget vs Professional-Grade Filters
Cheap filters can degrade image quality with weird color casts. If you can, invest in mid to high-quality filters. I’ve found that one good filter lasts years and pays off.
>>> See TODAY’S deals on DSLR camera filters HERE <<<
How to Use Filters Effectively in the Field
Mounting and Handling Filters Properly
Screw-on filters are easy but limit stacking. Square filters with holders are versatile but bulkier. Always clean them—dust and smudges show up fast.
Avoiding Common Mistakes with Filters
Don’t stack too many filters, or you’ll get vignetting (dark corners). Also, rotate polarizers carefully—they change effect depending on angle to the sun.
Best Practices for a Natural Look
Avoiding Overuse of Filters
It’s tempting to crank the effect, but subtlety wins. Over-polarized skies or too-long exposures can make photos look fake.
Combining Filters with Editing Software
I use filters to capture balanced images, then fine-tune colors and sharpness in Lightroom. Filters give you a strong base, editing adds polish.
My Recommended Filter Setup
Starter Kit Essentials
If you’re starting out, I’d suggest three filters: a circular polarizer, a 6-stop ND filter, and a soft-edge graduated ND. That covers 90% of situations.
Upgrading as Your Skills Grow
Later, add higher-stop NDs (10 or 15 stops) for dramatic long exposures, or creative filters if you like experimenting.
Conclusion
Filters are more than accessories—they’re tools that help you capture the beauty of landscapes as your eyes see them. Whether it’s reducing glare, balancing skies, or creating silky water effects, the right filter makes a huge difference. Start simple, practice often, and soon you’ll know exactly which filter fits the scene. Once you’ve got the best filters for landscape photography explained, your images will level up instantly.
>>> See TODAY’S deals on DSLR camera filters HERE <<<
FAQs
1. Do I really need filters if I edit my photos later?
Yes. Some effects—like reflections cut by a polarizer—can’t be recreated in post.
2. What’s the most useful filter for beginners?
A circular polarizer. It’s versatile, affordable, and makes a visible difference right away.
3. Can I stack multiple filters together?
You can, but stacking too many causes vignetting and image softness. Stick to two max.
4. Do filters affect sharpness or image quality?
Cheap ones can. High-quality glass filters maintain sharpness and color accuracy.
5. Should I buy screw-on filters or square filter systems?
Screw-on filters are simple, while square systems are more flexible. Beginners usually start with screw-ons.
Further photo tips here


