How to Shoot Food Photography with Natural Light
How to Shoot Food Photography with Natural Light
Flat, artificial light makes food look dull—but natural light brings life, vibrance, and authenticity. With the right setup at home, you can create professional-quality images without expensive studio gear. Let’s dive into how you can master a natural light food photography setup at home.
Why Natural Light Works Best for Food Photography
The Appeal of Natural Lighting
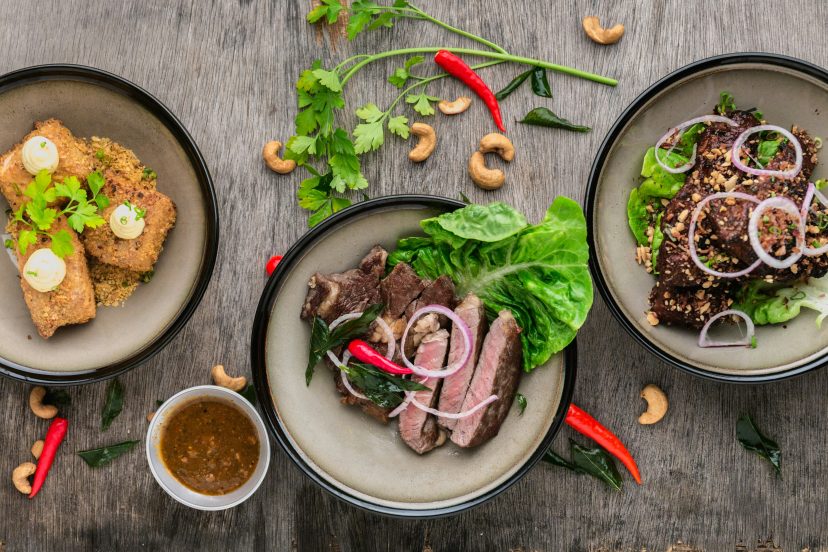
Natural light brings out the true colors and textures of food in a way artificial light struggles to match. A bowl of strawberries looks fresher, juicier, and more vibrant when captured under soft daylight. Natural light adds that “real” feeling that viewers connect with.
How It Compares to Artificial Lighting
Artificial lights offer control, but they can feel staged. Natural light is free, abundant, and gives food a more authentic and appetizing look. For bloggers, Instagram creators, or cookbook writers, this authenticity is everything.
Setting Up Your Natural Light Food Photography at Home
Choosing the Right Room and Window
Your window is your light source. North-facing windows give soft, consistent light throughout the day. South-facing windows bring stronger, harsher light—great if you diffuse it with curtains or white sheets.
Best Time of Day to Shoot
Morning light and late afternoon light are golden. Midday can be too harsh unless diffused. I usually aim for 9–11 a.m. or 3–5 p.m. depending on the season.
Controlling Harsh Light
If the sun is blasting, don’t panic. A thin curtain, baking parchment paper, or even a white T-shirt can work as a DIY diffuser. Soft light is your best friend for food textures.
Essential Tools for Natural Light Food Photography
Reflectors and Diffusers
A simple white foam board can bounce light back onto your subject, removing dark shadows. If you’re on a budget, even aluminum foil on cardboard works.
Tripods and Camera Setup
Tripods keep your shots sharp and allow for overhead compositions. They also let you slow down your shutter speed in lower light without risking blur.
Using Everyday Items as Photography Tools
No reflector? Use a pizza box lined with white paper. No backdrop? A wooden cutting board works wonders. Photography doesn’t always need fancy gear—just creativity.
Understanding Light Direction
Side Lighting for Depth
Placing your subject so light hits from the side creates shadows and highlights that add delicious depth. Think of bread slices showing off texture or pasta glistening in olive oil.
Backlighting for Atmosphere
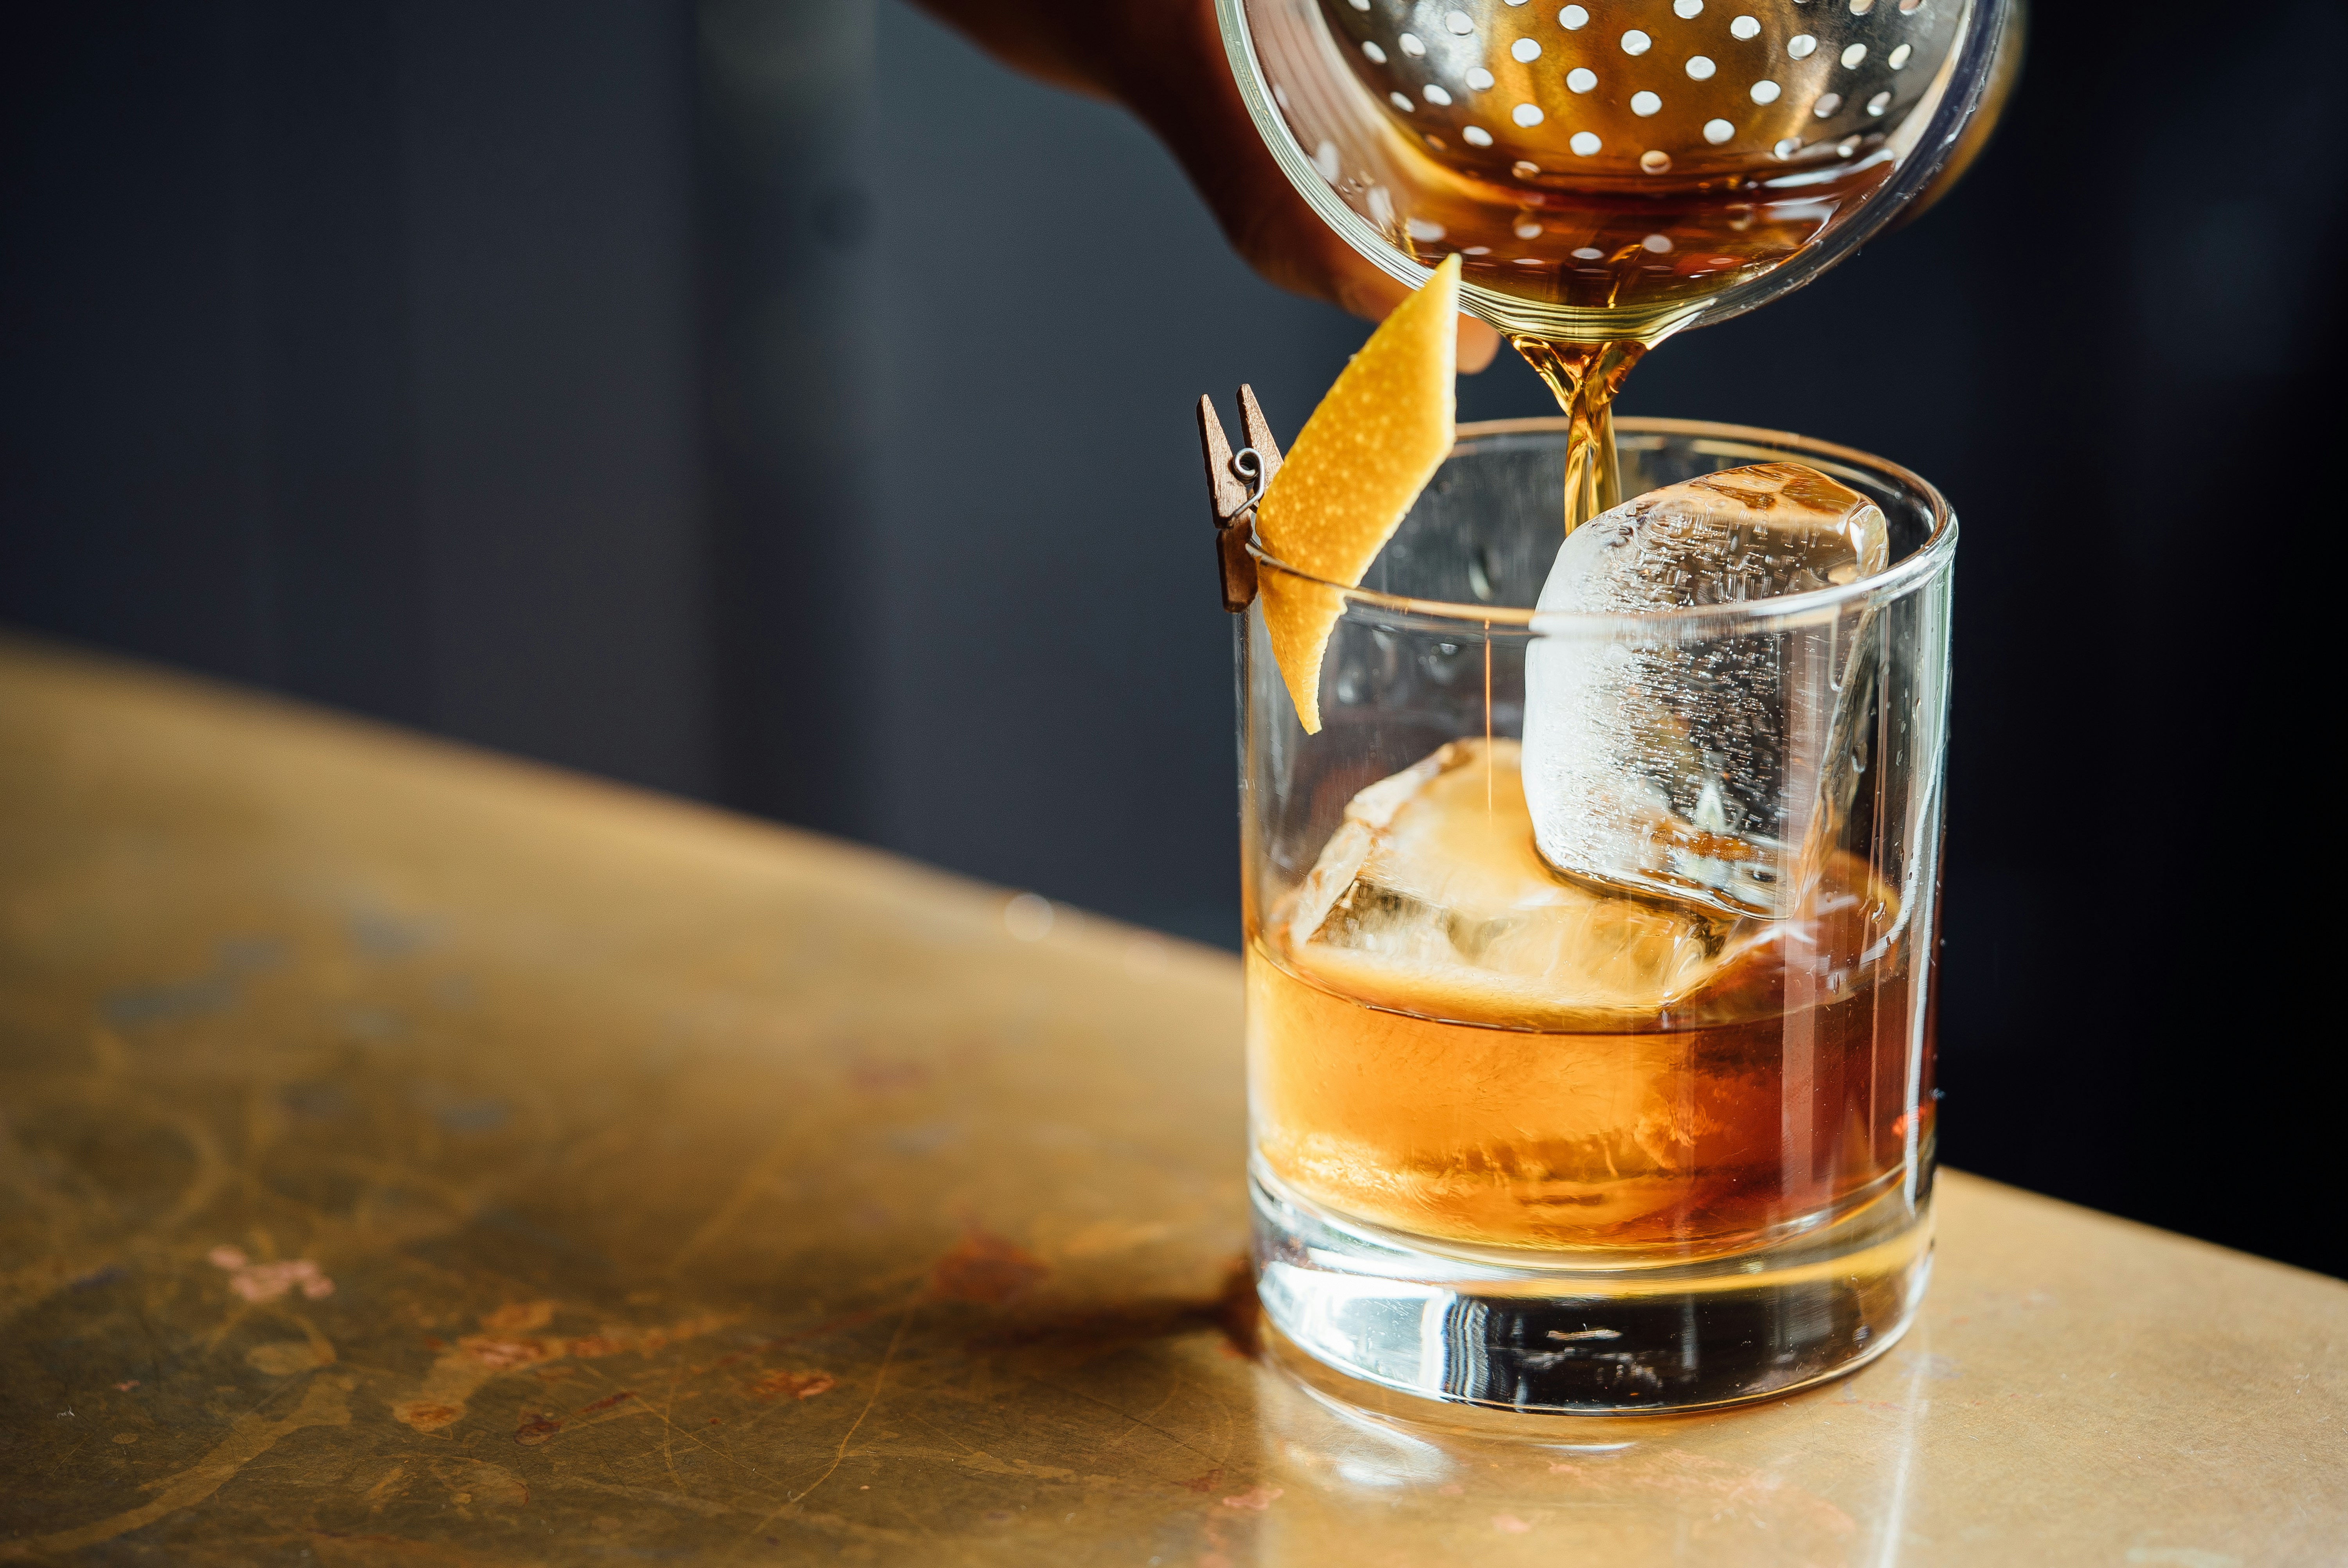
Backlighting is magical for translucent foods—like soups, drinks, or salads. It makes liquids glow and adds drama. Just make sure to use a reflector in front to balance shadows.
Front Lighting and When to Avoid It
Front light flattens textures, making food look lifeless. Avoid it unless you’re going for a flat, graphic style.
Styling and Composition with Natural Light
Choosing Backgrounds and Surfaces
Wooden boards, marble slabs, and linen cloths are popular. Keep a few interchangeable surfaces handy so your shots don’t all look the same.
Adding Props for Storytelling
Props add context. A rustic spoon suggests “homemade,” while a wine glass hints at “fine dining.” Just don’t overdo it—props should support, not steal the spotlight.
Balancing Colors and Textures
Pair colorful dishes with neutral backdrops. A green salad pops against a white plate. Meanwhile, pasta with creamy sauce benefits from rustic wood for contrast.
>>> See TODAY’s deals on prime camera lenses HERE <<<
Camera Settings for Food Photography
Aperture Choices for Sharpness and Blur
Use a wide aperture (f/2.8–f/4) for creamy backgrounds, or a narrower one (f/8–f/11) for group shots like table spreads. Aperture sets the mood.
Shutter Speed for Crisp Shots
If shooting handheld, keep your shutter at least 1/125s. For tripod shots in lower light, you can go slower without blur.
ISO for Clean, Bright Images
Keep ISO as low as possible (100–400). Higher ISO introduces grain, which can make food look less appetizing.
Editing Photos for a Natural Look
Mobile Editing Apps
Apps like Snapseed and Lightroom Mobile let you adjust brightness, highlights, and saturation quickly. Perfect for Instagram-ready edits.
Desktop Software Workflows
Lightroom Classic or Photoshop give more control. Batch editing keeps your style consistent across recipes or blog posts.
Common Mistakes to Avoid in Natural Light Photography
Shooting in Direct Sunlight
Harsh light causes blown-out highlights and ugly shadows. Always diffuse when the sun is strong.
Ignoring White Balance
If your whites look blue or yellow, adjust your white balance. Food should look natural and true-to-life.
Overcrowding the Frame
Too many props = visual chaos. Leave negative space so the dish can breathe.
Practical Tips for Home Setups
Batch Shooting Multiple Recipes
Cook and style 2–3 dishes in one session. Natural light changes quickly, so batching saves time and keeps consistency.
Keeping a Simple Prop Collection
Start with a few neutral plates, bowls, and linens. Over time, add more variety. Props are like spices—you don’t need them all at once.
Using Seasonal Ingredients Creatively
Seasonal produce not only tastes better but also looks fresher in photos. Pumpkins in fall, berries in summer—it ties your content to the season.
Conclusion
Shooting food photography with natural light at home is all about observation, creativity, and storytelling. The right window, a few reflectors, simple props, and an eye for styling can turn everyday dishes into irresistible images. The best part? You don’t need a studio—just practice, patience, and a willingness to play with light.
>>> See TODAY’s deals on prime camera lenses HERE <<<
FAQs
1. What’s the best time of day for food photography with natural light?
Morning or late afternoon when light is soft and diffused.
2. Can I use my phone for natural light food photography?
Yes! Modern phones are powerful, especially when paired with good lighting.
3. How do I stop harsh shadows in food photos?
Use a diffuser (like a sheer curtain) and bounce light with a reflector.
4. What’s the ideal background for food photography?
Neutral, textured surfaces like wood, marble, or linen work best.
5. How do I make food look fresh in photos?
Shoot quickly, mist produce lightly with water, and use natural light for vibrancy.
Further photo tips here
Food Photography: My Ultimate Guide to Capturing Deliciousness


