Shooting Golden Hour vs Blue Hour: Key Differences
Ever stood in awe of the sky when it’s painted in soft amber tones or drenched in rich, deep blues? That’s the magic of golden hour and blue hour. If you’re into photography—especially outdoor, portrait, or landscape work—you’ve probably heard these terms tossed around a lot. But how do they differ? When should you shoot during one versus the other? And how do you nail your camera settings? Let’s dive into some golden hour vs blue hour photography tips that will seriously level up your photos.
>>> Best place to buy DSLR camera kits HERE <<<
What is the Golden Hour?
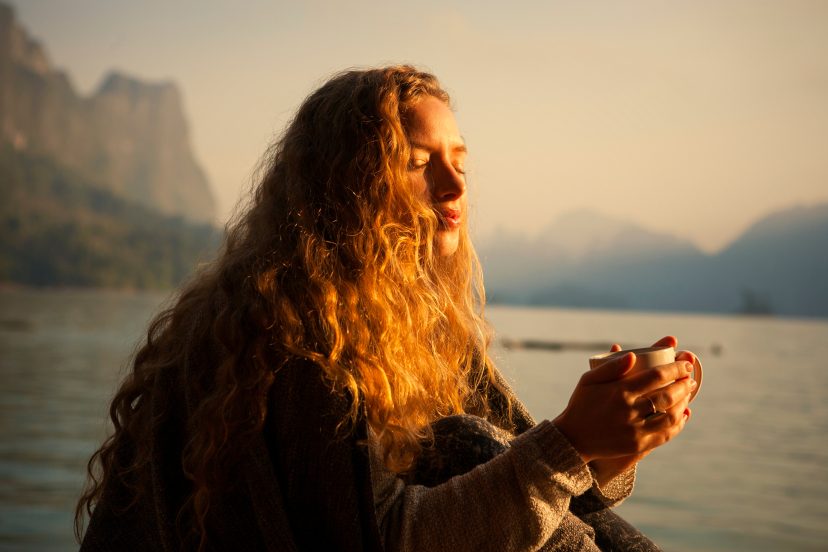
The golden hour is that dreamy period shortly after sunrise or just before sunset. The sun is low in the sky, casting a warm, golden light that’s super flattering for portraits and dreamy for landscapes.
What is the Blue Hour?
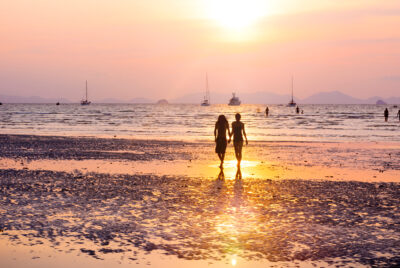
Now, the blue hour is a little more subtle—but just as magical. It occurs right before sunrise or right after sunset when the sun is well below the horizon. The sky turns a rich blue with cooler, moody lighting.
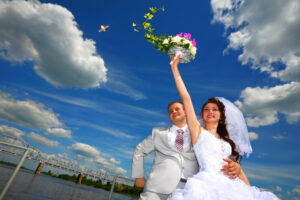
Lighting Conditions Explained
Let’s break down what the light actually looks like during both hours.
Golden Hour Light Characteristics
-
Soft shadows and diffused light.
-
Warm tones: oranges, pinks, and golds.
-
Great for skin tones and soft highlights.
Blue Hour Light Characteristics
-
Cooler, low-contrast lighting.
-
Deep blues and purples dominate the sky.
-
Shadows soften but get darker quickly.
Color Temperature & Mood
Colors of Golden Hour
Golden hour leans toward warmer color temperatures—typically around 3,500K to 5,000K. This makes everything feel cozy, nostalgic, and romantic.
Colors of Blue Hour
Blue hour shifts to cooler temperatures—between 6,000K and 9,000K. These colors evoke calmness, mystery, and introspection.
Mood and Emotion in Each Hour
Golden hour feels like a love letter. Blue hour? It’s more like a poem whispered under the stars. Pick your hour based on the vibe you want to convey.
Camera Settings Recommendations
Lighting changes fast during both hours. Get your settings right, or you’ll miss the magic.
Settings for Golden Hour Photography
-
ISO: Start at 100 or 200.
-
Aperture: f/2.8 to f/5.6 for portraits, f/8+ for landscapes.
-
Shutter Speed: 1/100 or faster, depending on your subject.
Settings for Blue Hour Photography
-
ISO: 400–800 to compensate for lower light.
-
Aperture: f/2.8–f/4 to let in more light.
-
Shutter Speed: Slower (1/30s or longer)—tripod highly recommended.
ISO, Aperture, and Shutter Speed Tips
Always shoot in RAW. Turn on your histogram. And remember: low light equals longer exposure—steady hands or tripods are key during blue hour!
>>> Best place to buy DSLR camera kits HERE <<<
Best Subjects for Each Hour
What should you shoot during these golden and blue spells of the day?
Subjects to Shoot During Golden Hour
-
Portraits with glowing skin tones.
-
Landscapes with backlighting.
-
Architecture with warm flares.
-
Wildlife and macro with soft shadows.
What to Shoot During Blue Hour
-
Cityscapes with lights turning on.
-
Reflections in water.
-
Silhouettes of trees or buildings.
-
Astro and twilight scenes.
Gear Tips for Each Hour
Must-Have Equipment for Golden Hour
-
Reflectors for balancing warm tones.
-
ND filters for longer exposures.
-
Prime lenses for sharpness and creamy bokeh.
Must-Have Equipment for Blue Hour
-
Tripod (non-negotiable!).
-
Remote shutter or timer mode.
-
Wide-angle lens for expansive views.
-
Fast lens (f/2.8 or faster) to handle low light.
Post-Processing Advice
Even golden and blue hour images need some polishing.
Editing Golden Hour Photos
-
Boost warmth and contrast.
-
Play with shadows for depth.
-
Don’t overdo the saturation—golden hour is naturally colorful.
Editing Blue Hour Photos
-
Use selective exposure to highlight subjects.
-
Boost blues but watch color balance.
-
Add clarity for detail, especially in urban scenes.
Golden Hour vs Blue Hour: A Quick Comparison Table
| Feature | Golden Hour | Blue Hour |
|---|---|---|
| Light Temperature | Warm (3,500K–5,000K) | Cool (6,000K–9,000K) |
| Ideal Subjects | Portraits, Landscapes | Cityscapes, Night Shots |
| Mood Created | Romantic, Inviting | Mysterious, Calm |
| Requires Tripod? | Not always | Yes, highly recommended |
| Duration | ~1 Hour | ~20–40 Minutes |
My Personal Tips for Both Hours
Here’s my honest take: If you’re just starting out, start with golden hour. It’s more forgiving. The light is easier to work with, and you don’t need a tripod.
Once you’ve got the hang of controlling exposure and white balance, dip into blue hour. Be patient—use a tripod, shoot RAW, and don’t be afraid to experiment.
Try this exercise: shoot the same scene at golden hour and blue hour. Compare the emotion, colors, and mood. It’s a game-changer for how you see light!
Conclusion
Golden hour and blue hour are like nature’s built-in filters—they can transform ordinary shots into breathtaking images. Understanding their differences helps you choose the right one for your scene, mood, and story.
So next time you’re heading out with your camera, time it right. Whether you’re chasing warm glows or cool vibes, you now have the golden hour vs blue hour photography tips you need to capture them beautifully.
>>> Best place to buy DSLR camera kits HERE <<<
FAQs
1. How long do golden hour and blue hour last?
Golden hour lasts about an hour after sunrise and before sunset. Blue hour is shorter—usually 20–40 minutes.
2. Can I shoot handheld during blue hour?
You can, but it’s tricky due to low light. A tripod is strongly recommended.
3. Should I adjust white balance during golden or blue hour?
Yes! Use “Daylight” for golden hour and “Tungsten” or custom settings for blue hour to get accurate tones.
4. What’s better for landscape photography—golden hour or blue hour?
Both are great! Golden hour adds warmth and depth, while blue hour gives calm, ethereal tones.
5. Are smartphone cameras good enough for golden or blue hour photography?
Modern smartphones can handle golden hour well. Blue hour is harder due to low light—use night mode or a tripod if possible.
Read more relevant posts
Golden Hour Photography: Mastering Nature’s Most Magical Light

